Showing posts with label Crochet. Show all posts

Wednesday, 17 June 2015

Pretty Me & Make Me Challenge ~ April

Regular readers of this blog will know that I have committed to stop my procrastination and commit to a 'Pretty Me' project and a 'Make Me' challenge each month.  I've been working on these in between managing my health and it has been good to give me a little direction and to feel that I am being a little productive - even if I am still a couple months behind my target challenge!  I'm not pushing myself to overdo things even creatively but it is working for me and so I'll keep setting myself the challenge and sharing them with you here!


Pretty Me

Little Lady has been experiencing headaches, poor sleep and general fatigue for a good few months... behind the scenes she's had lots of blood tests, an MRI of her brain and a special tonic.  During this time we've tried to be proactive in eliminating any obvious sources; she's been prescribed iron due to being anaemic (brought on by a bought of illness and growth spurt), medicine to help relieve migraine, and we now practice many relaxation and meditation techniques together - but thankfully nothing more serious has been found.

Obviously, as a mother if your child is generally not 100% you want to do all that you can to help.  So, what else could I do? For the past few weeks I've been researching small double (4ft) beds. Little Lady had a 2ft 6 bed - approaching 9 and above average height I felt a bigger bed may well aid the much desired sleep process. I had a strict budget of £150 all in (bed, mattress, delivery etc) and mistakenly I thought this would get me what I had in mind. How wrong was I?!!  Over time I searched ebay and surprisingly found that I could get a vintage bed for the same price - if not less than a new 'less solid' model.

After two months searching, early one Sunday morning I won the auction on a black, cast iron bed. It was all dismantled so I have no pictures to share as a before. Sooo exciting; this bed is cast iron and the frame was in the family I bought if from since at least the 1930's!! The mattress was unused and both were sat in a guest room.  The couple had decided to reluctantly sell it as it was just not getting used!  I had found a similar bed painted cream on another site for hundreds of pounds... way outside of my budget. Oh yes, I have a plan.

I have to purchase some slats to support the mattress as it literally is the outer frame only so will need to build a slatted base.  I also want to soften its look with a paint job and so can't wait to complete this promising project!  This image gives you an idea of how it looks pre makeover.


Make Me

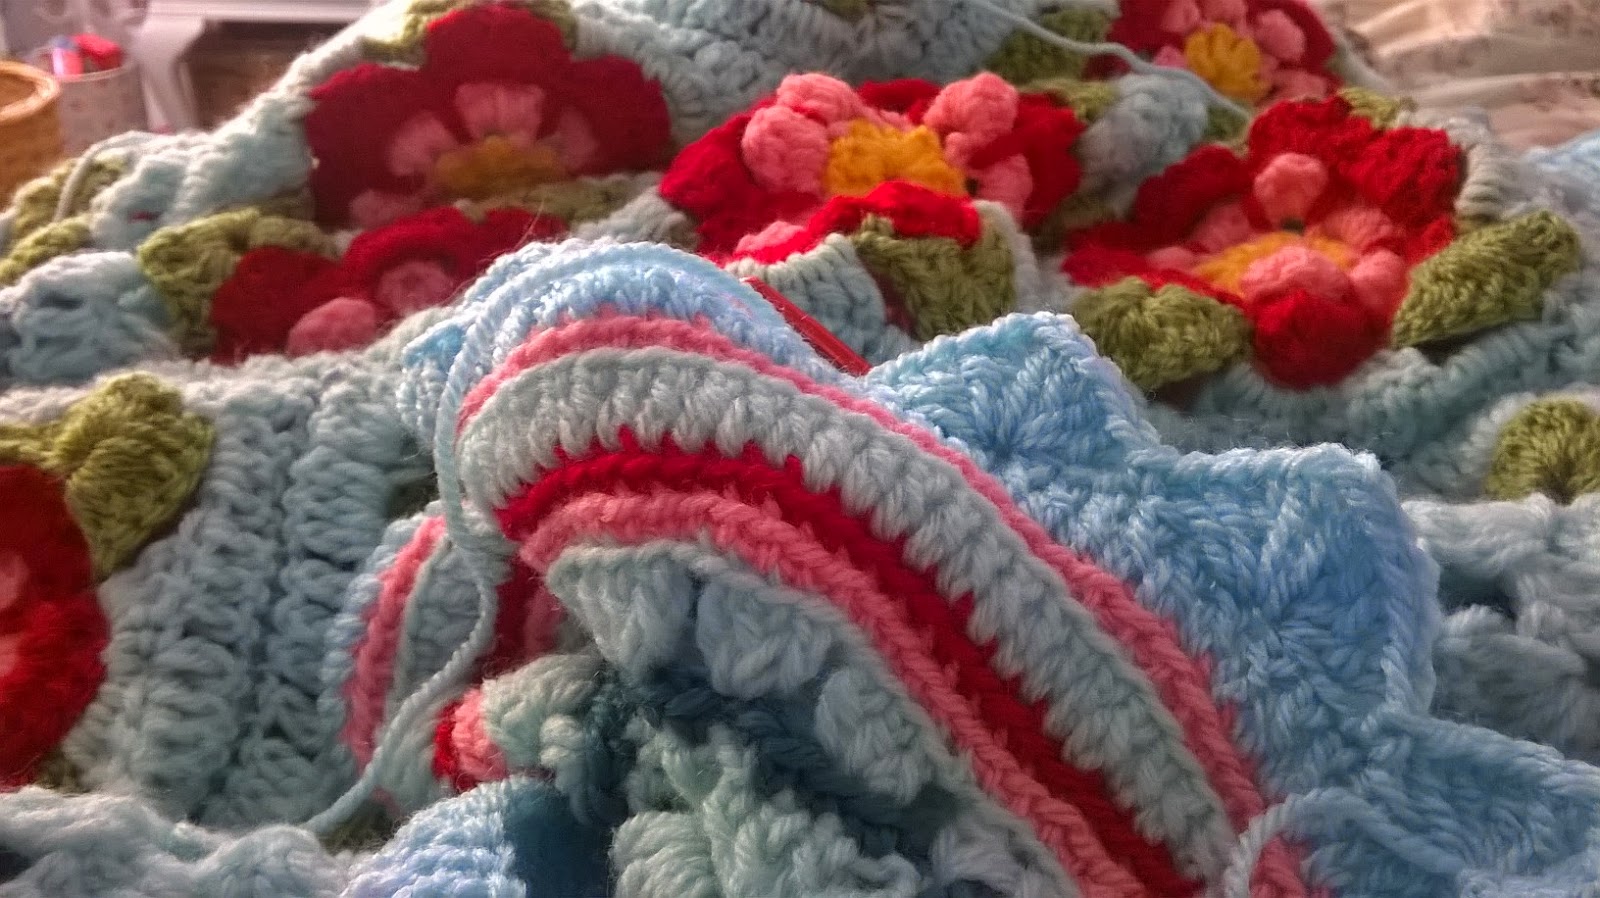
I've mentioned in a couple of posts (here and here) about the progress on my Coastal Target Squares Blanket.  I'm working on the border now and the completion of this blanket will be my April Make Me Challenge.  This is a big blanket and has been a joy to work on.  I really love the colours and can't wait to share the completed project with you.  I'm really enjoying the border making process too - it's the first time I've properly tried, frogged and reworked different crochet stitches and colours to try to get the look that I have in my mind and that compliments the squares themselves, rather than follow someone else's pattern.

I think both of these projects are going to be really rewarding to complete.  Both are focused on a desire to nurture my family and I am super positive about the outcome of each of these!

I look forward to sharing the finished items with you later this month.  I hope you are having a wonderful week.  

Thankfully my health is starting to improve gradually.  I've been taking steroids for just over a week and these are dampening my immune system and associated inflammation.  I have two more weeks of the course to take and hope that the relief will continue to come.  THaNK YOU all for your wonderful messages of support on my recent posts - I can't tell you how much your comments help to lift my mood and ease my negative thinking.  I really appreciate all of your Bloggy friendships - I truly do.  So much so that next week I'm planning a little giveaway!  So please do pop back to this little space to see what goodies you could win.  

Take care until next time,

J9 x

Friday, 17 April 2015

Pretty Me & Make Me ~ February Ta Dah!!!!

Firstly, thank you so much for your kind, supportive and genuinely lovely messages of support in response to a recent post regarding my ongoing challenges with my health.  I'm now 8 weeks in to a new medicine regime which takes 12 weeks to feel the full benefit so I am very hopeful for the future.  This combined with strictly following a dairy, gluten, meat and added sugar elimination diet sees my spirits raised (which always helps coping with these challenges).  After the news that my immune system was not only attacking my joints and muscles but also damaging my liver and kidneys I was willing to do anything to bring some relief!  Anyhow, the steroids, medicine and special diet have seemed to have a calming effect and I'm super happy with that.  Your lovely messages though really help during such a difficult time.
So back to the matter in hand - the Games Trunk!  It has been completed for a good few weeks but I wanted to have my mitts finished to do a full February Ta Dah post!

So without further delay let me share with you my Pretty Me Ta Dah!


This was a really easy and straight forward upcycle.  A quick clean and wipe out with bleach solution and the trunk was ready for its new coat.   I used Annie Sloan paint (which I had in the shed) to smarten the outside up and to enable it to suit our lounge decor more effectively.

I then patched the damaged section of the lid with gaffa tape and initially used an off cut of wallpaper to cover this over.  Unfortunately the wallpaper crinkled and showed too much of the damaged surface underneath and so I was forced to think of an alternative...  In my offcuts I found this toning piece of oilcloth - literally the perfect size to cover the lid.  I think it works well and I simply attached it with double sided tape.


The inside of the trunk was given a fresh coat of lining paper - some Cath Kidston blue star paper I had from a long time ago!!  This gave a really smart and practical finish to the trunk, which on reflection was a very frugal upcycle!!!


The AFTER picture was taken while the glue was still wet so the paper shrunk back even better once completely dry.  Saved from land fill and functional once more.  Happy Days.

As for my Make Me Project - these gorgeous mitts.  I absolutely loved making them - my delay in finishing them was partly due to me putting them aside in favour of making progress on my Target Squares blanket (as I was participating in Sandra's Blanket Along).  This week I decided to bite the bullet and complete the final bits of the mitt pattern.  So finally, I managed to finish the edging and sew on the buttons.

The blanket was a really pleasant distraction although I've proven that I really can only work on one crochet project at a time.  Whilst I may have great plans to work on both projects, something inherent in me is all or nothing - one or the other.  I must say finishing these mitts was a great reward though.


I absolutely love them - they are my favourite colours and due to my complete LoVE of buttons they suit me perfectly.


I continue to make progress (albeit very slow progress) on my long list of projects to make / pretty and do hope you enjoyed seeing these finished items.  I can't wait to share my next projects with you.

J9 x

P.S - I really appreciate all you lovely readers and especially love to hear from you.  Unfortunately at present, I have such limited time on line that I am failing to comment / keep up to date on many of your lovely blog posts.  I do tend to binge read weekly when I get a moment but time / laptop availability seems to be a continuing issue.  Please know that I love following your blogs and am a silent witness to many of your achievements but value you sharing them none the less.  Blessings, x 

Wednesday, 15 April 2015

Nearly There...

It is the hottest day in England so far this year - perfect for finishing a pair of lovely Stripey Mitts!?! I started these some time ago and had wanted to make them for ages.  I actually crocheted the stripes that were needed fairly quickly... then they were put back into my basket in favour of my Coastal Target Squares Blanket while I joined in the Crochet Along.

Time passed.  I procrastinated....  I decided yesterday that at least one of my WIPs had to be made into a finished item and so the mitts were retrieved from their basket where they had been patiently waiting.


In hindsight I delayed because I was a little intimidated by the button edging and thumb hole completion.  I needn't have worried!  Of course, the wonderful Sandra of Cherry Heart had written the tutorial so thoroughly that I felt guided through these slightly wriggly and tighter stitches.

They are nearly complete.  I am on the final step of choosing the buttons to fasten the sides together.


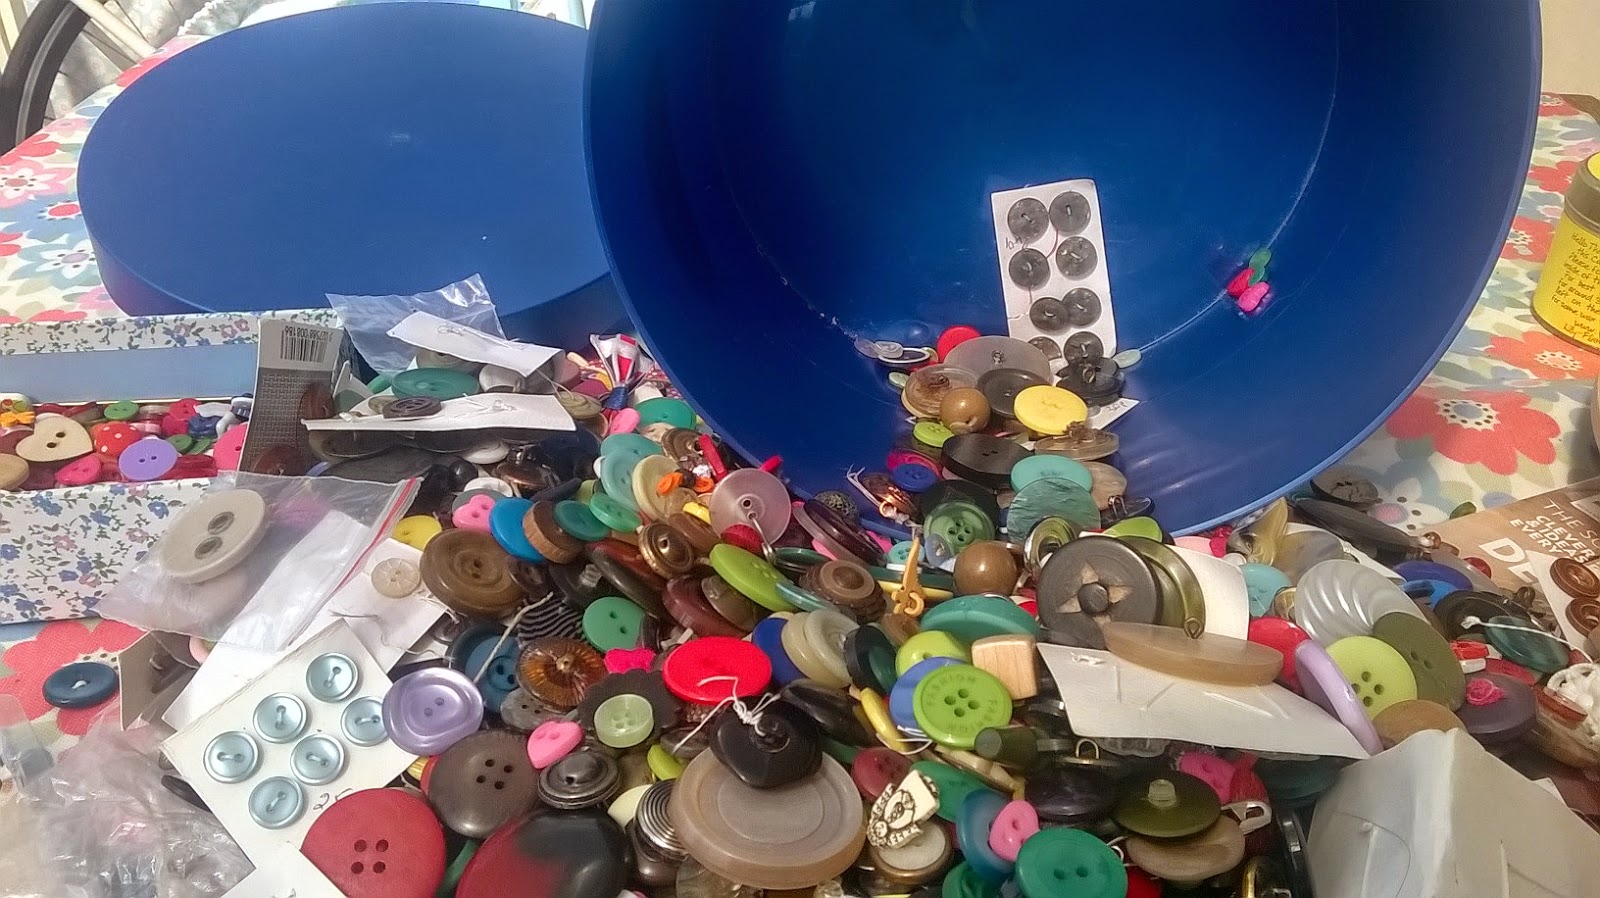
Ooooh decisions, decisions.  How I love buttons.  This is such a nostalgic joy for me.  I remember loving my Mother's big button tin as a child and sorting through the piles to select the perfect one.


I decided to go with odd buttons and just chose various shades of blue, grey and white initially.  Then I passed a happy half hour playing with button placement and choice.

Until the final choice gave complete satisfaction.


I'm off to sew these lovelies on.  They'll have a Ta Dah moment later this week.

I hope you are enjoying a few moments of happiness this fine day and I will be shortly wearing my Mitts even though it's nearly 20 degrees outside!!!  Take care,
J9 x
Monday, 30 March 2015

Weekender Blanket Along with Cherry Heart

Happy weekend folks,

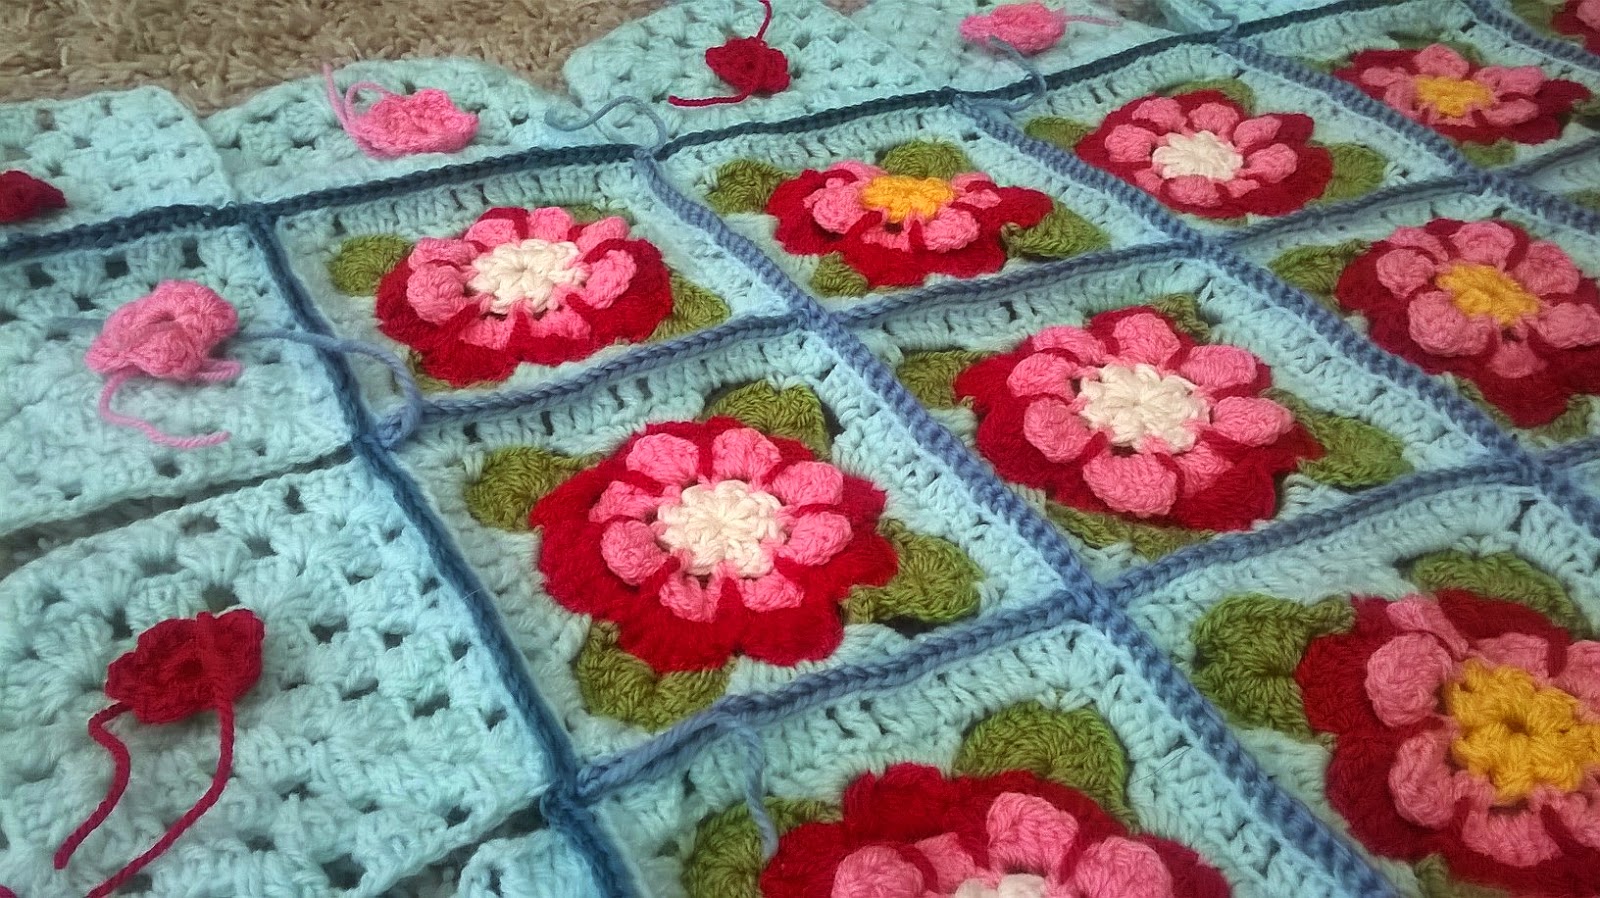
Hope you are all fine and dandy this Sunday.  It is a wet and windy afternoon in my part of the world - a day for hunkering down - perfect for cosy crafting.  I thought that I would share progress on my Target Square blanket which I've been crocheting this month.  I thought it would be fun to join in the 'Weekender Blanket along' that Sandra was hosting on her lovely blog and had great plans for progress over the month.

I've enjoyed the simple rhythm of making these squares - they don't require a great deal of thought or concentration and you can feel quite productive working away in a quiet fashion.  I've now crocheted 78 squares (although no ends are sewn in).  The colours are reminiscent of the sea and contain some of my favourite hues and of course many of you will recognise them from Lucy's lovely Coastal blanket pack.  


While I was playing around with placing the squares I decided to omit a couple of the colours - just for my personal taste.  I'm really happy with how these colours work together and hope to complete the blanket by the end of April.


I had made a start on this blanket before Sandra announced the "Blanket Along" but had only completed 21 squares and so have made progress in those interim weeks - which was all that was required to join in!!!  I had set myself the target of 8 squares each week of March.


Excellent.  I've managed to achieve one of my many goals on the crafting front this month!

There are some gorgeous blanket creations being shared at the blanket along on Cherry Hearts Ravelry group so if you haven't looked yet I'm sure you'll see some inspirational crochet when you have a spare moment.  There is also a voting system as Sandra is so kindly giving a prize to one lucky winner!  I feel lucky to have been involved, even in a small way with such an inspirational, creative community.  A big thank you to Sandra for providing the motivation!

I will need to order another pack of coastal colours to complete my blanket - it's going to be a big one and can't wait to share more progress with you over the coming weeks.

J9 x

Wednesday, 25 February 2015

Make Me January ~ Ta Dah!!!!

Way back in November, the wonderful Sandra of Cherry Heart posted about her newest pattern the "Painted Roses Blanket".  Right then I knew that I had to make it!  I had been wanting to crochet something for my mum and this was exactly what I had been looking for!

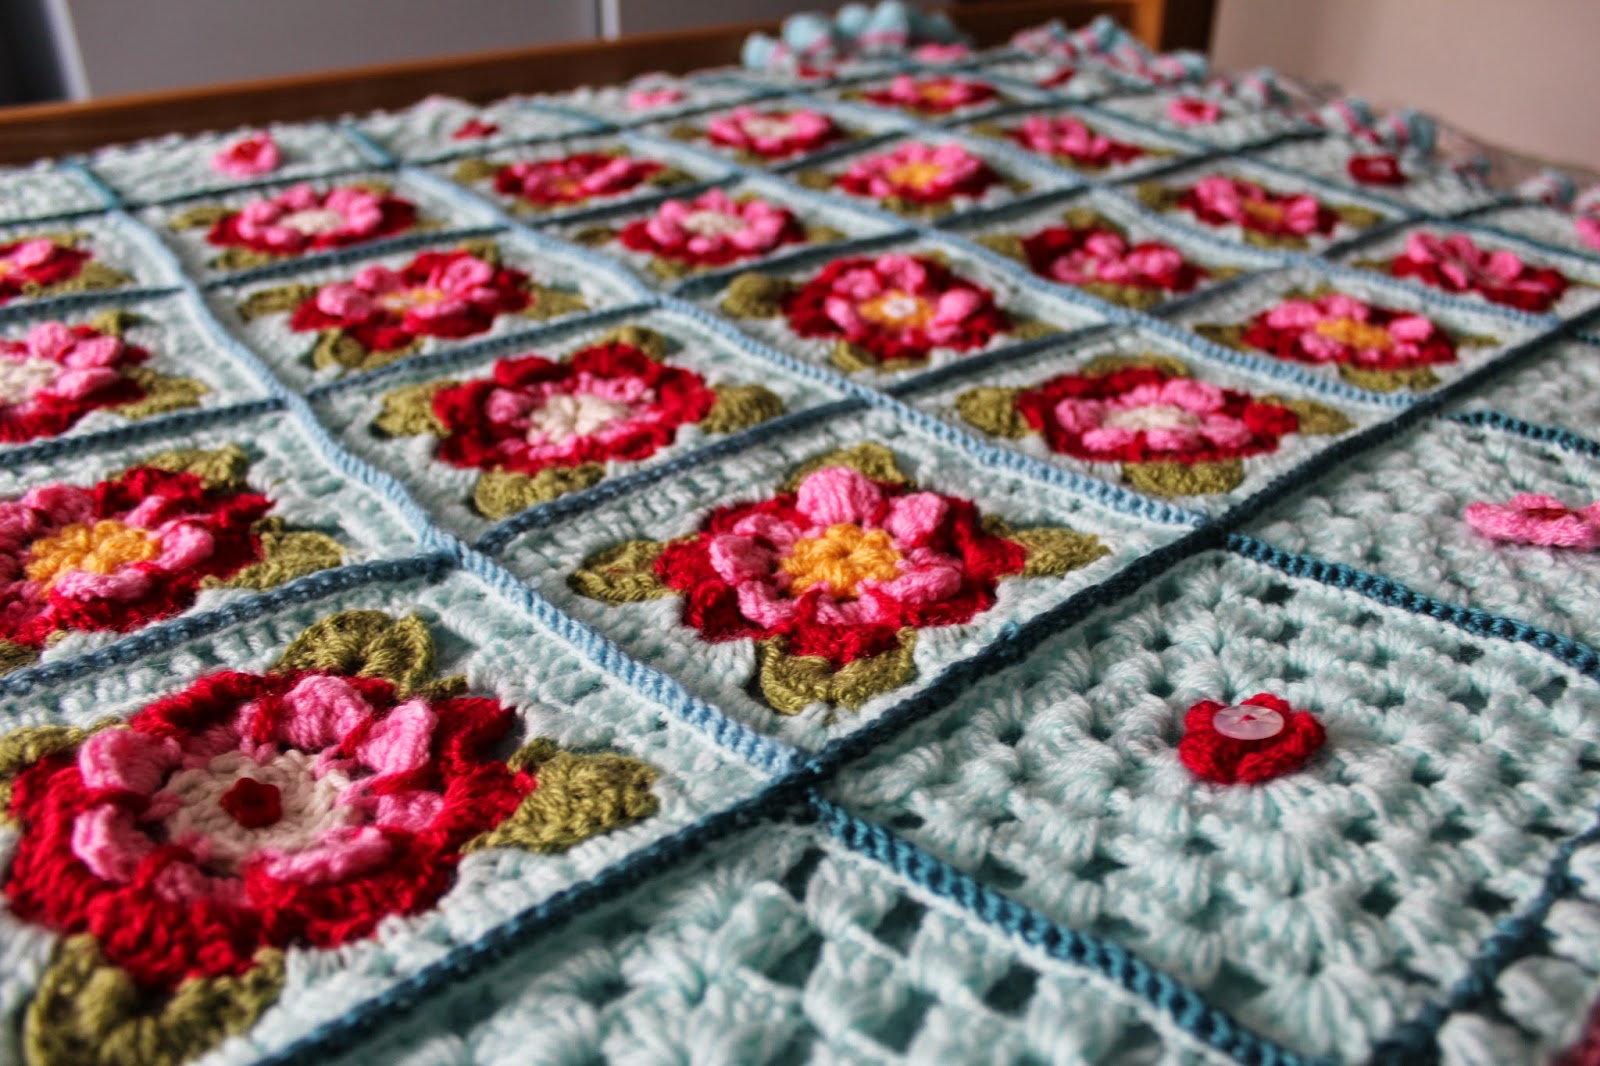
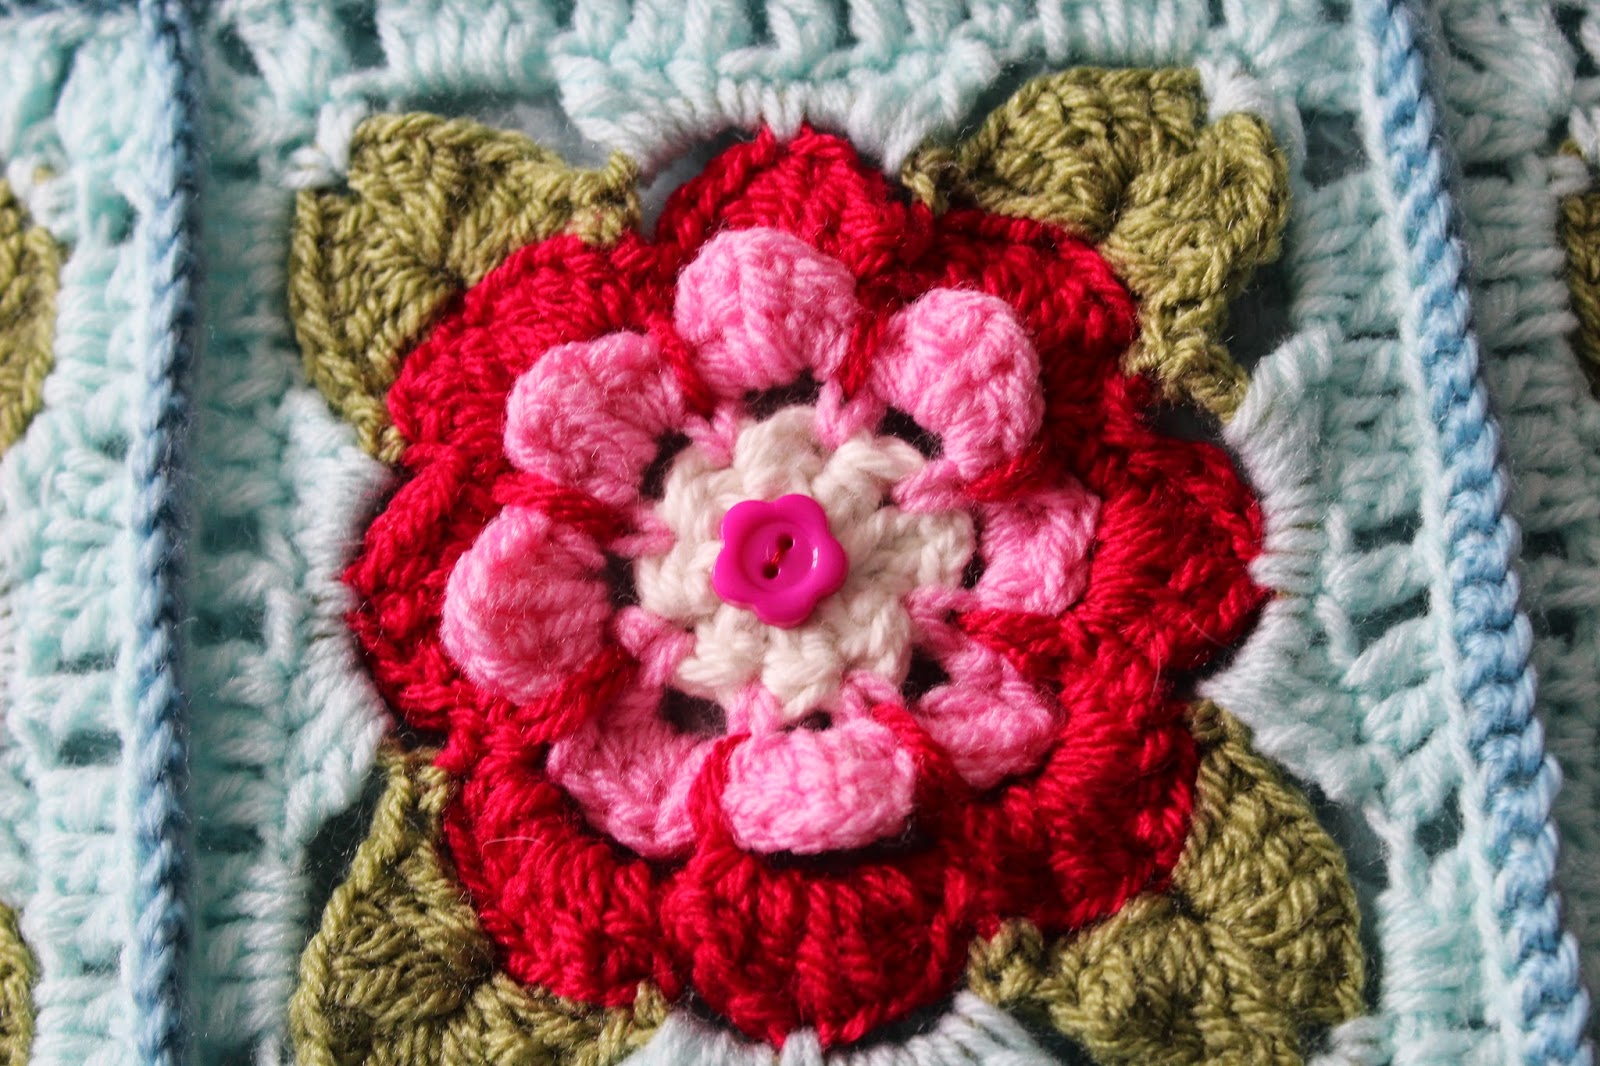
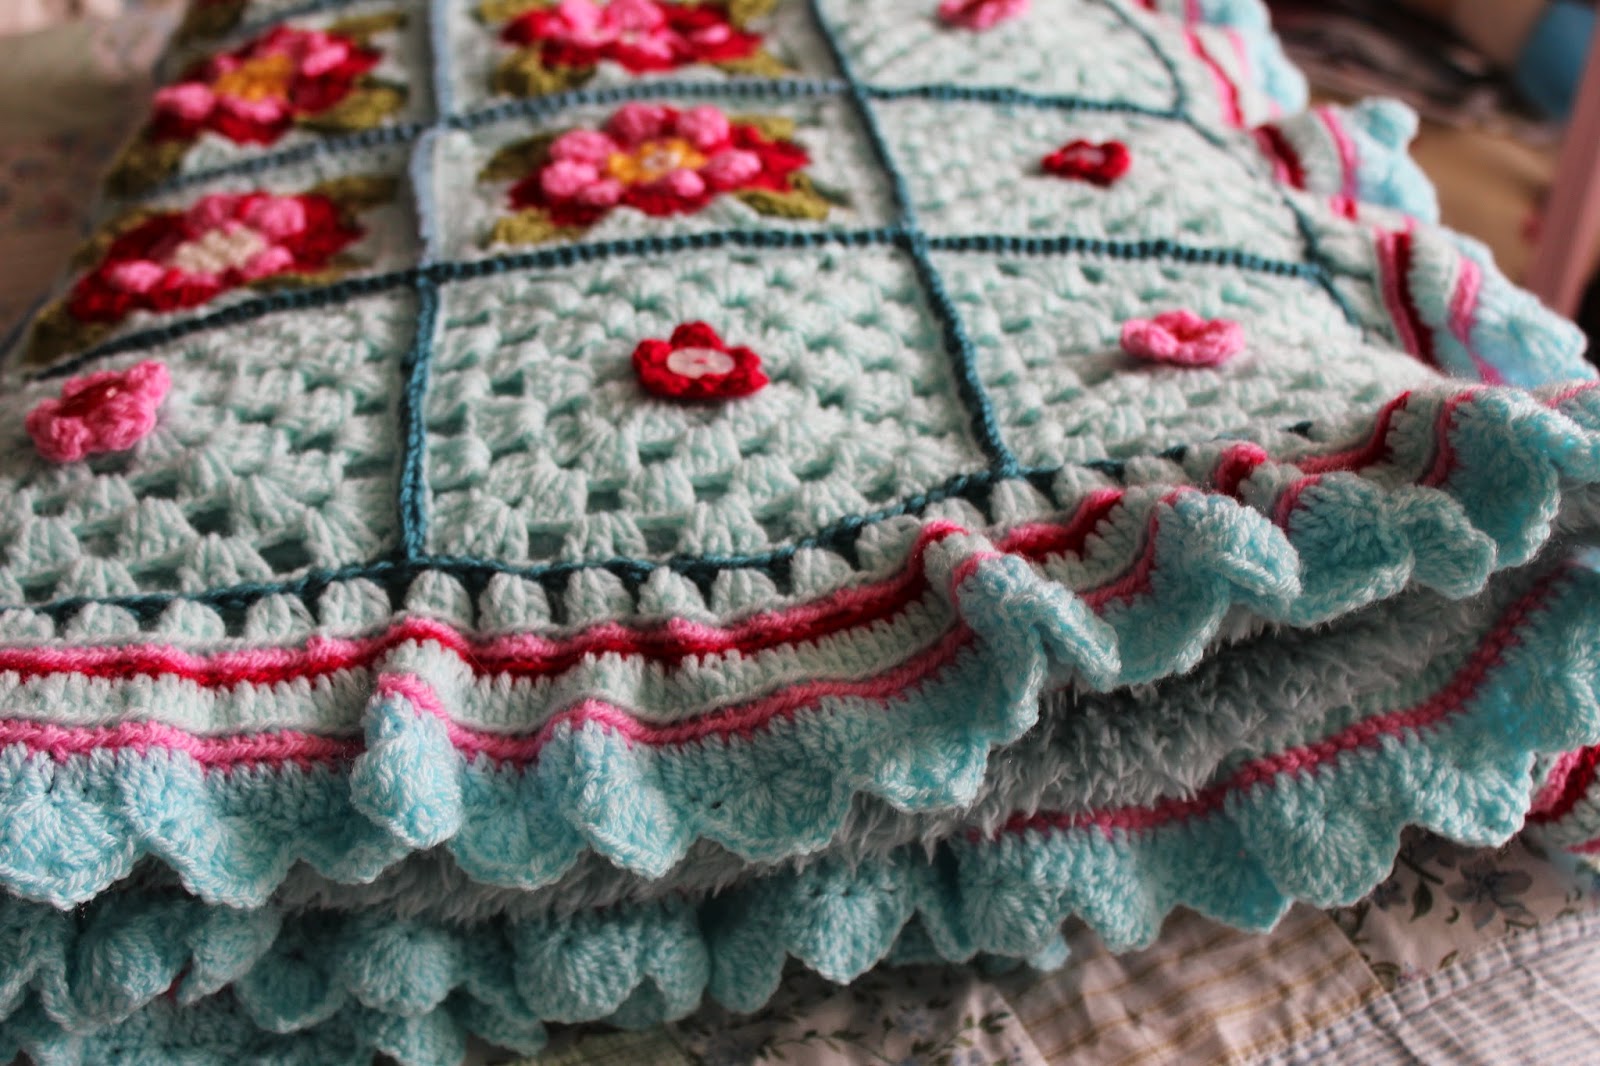
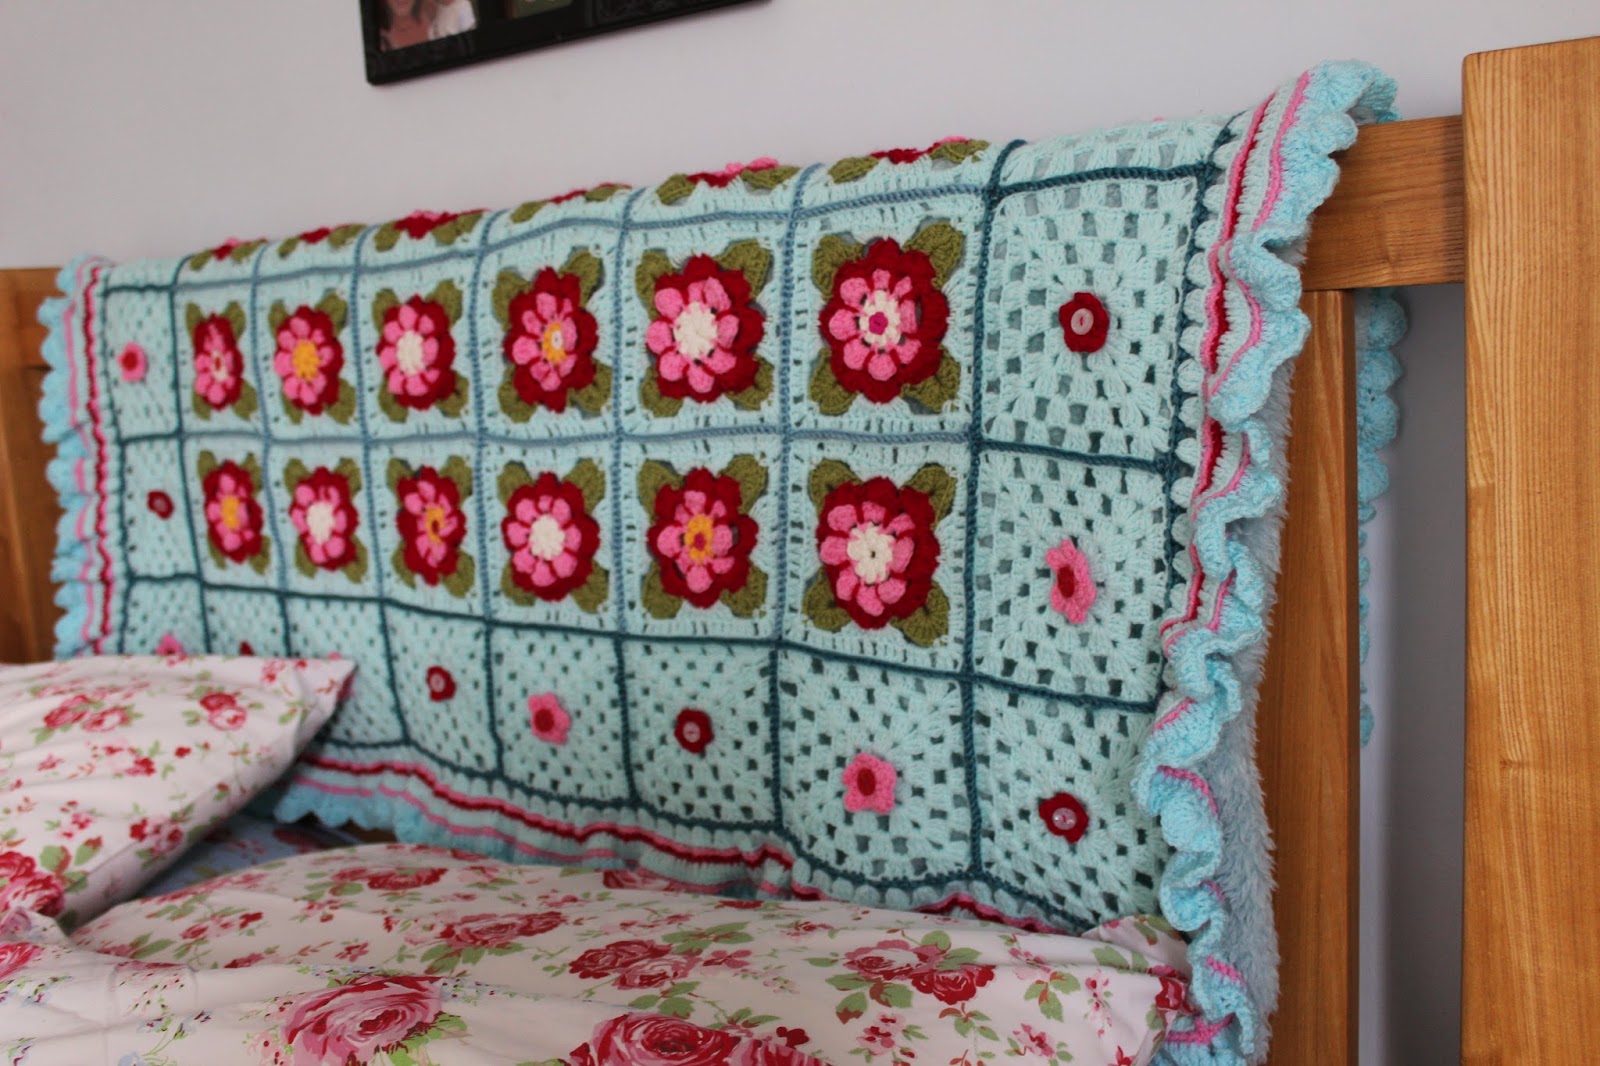
I've shared the process of this creative journey here and here and finally the blanket is complete.  I am so very pleased with it - and my mum was delighted when it was presented to her during the half term holidays.

So... shall I show you?!

Ta Dah!!!


The weight of it is so comforting - with the teddy throw sewn to the crochet blanket.  It provides substantial warmth and is pretty and functional!!


I added buttons to the centres of some of the painted roses - partly because they look pretty and partly because it helped to attach the fleece backing to the crochet front.


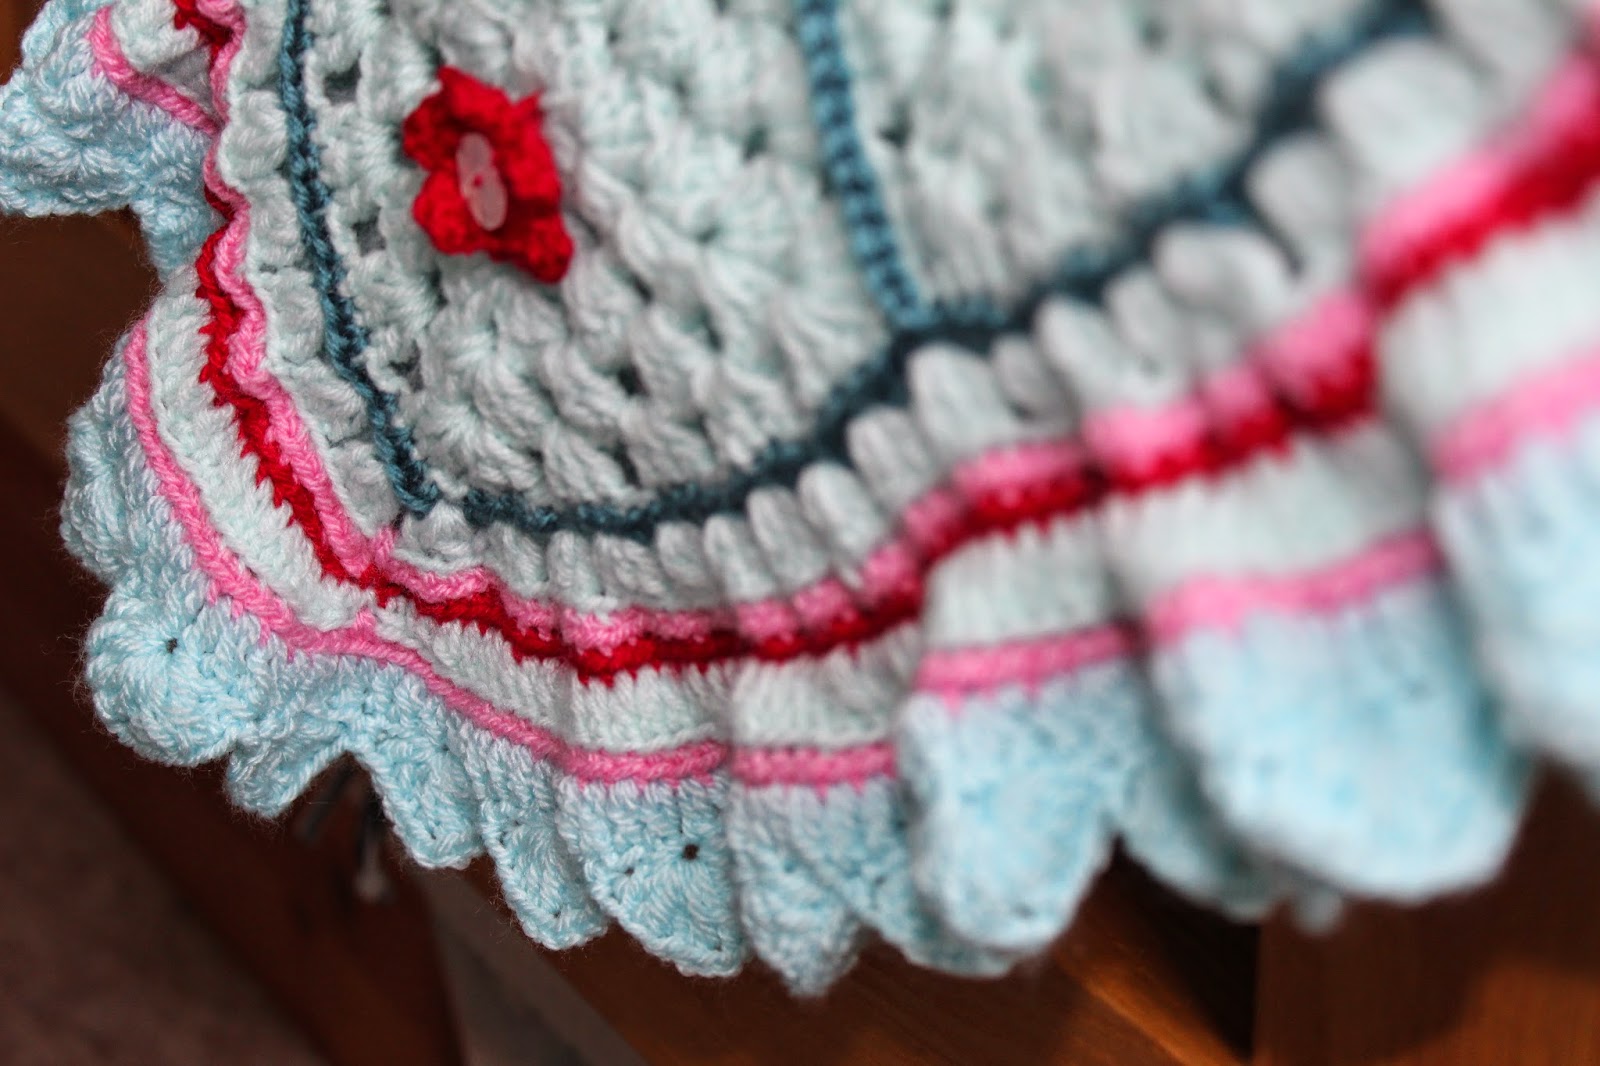
This combined with the edging teeny weeny flowers around the whole painted roses squares means the fleece blanket is attached thoroughly.  I sewed the fleece to the red single crochet stitches using red embroidery thread. This meant that the fluted edging is not backed but it frames the blanket well giving a little more drape.


I added a very homemade label to the back - embroidered with 'Made with Love' and Nov - Feb 2015.  I haven't hand sewn in a while and it certainly showed but it held a simple charm - especially with it being a vintage, embroidered coaster originally.


I love it.  And have loved making it.  I've enjoyed every step actually.  I'm hooked again and really want to start my next crochet project imminently!!!


As you can see with the number of photos!!  Before I gave it away I had a real play with photographing it.  The trouble being that there has been very little sunshine here so they were all taken indoors...


Sandra also shared her painted roses cushion made in more muted tones which I really love and is a less time consuming project.  I definitely think I'll make one soon - although I have two other crochet projects already on the hook!  I can't recommend this pattern enough and I hope you have enjoyed seeing my finished blanket.  Take care lovely people, 

J9 x

Monday, 16 February 2015

Nearly There...

I'm working on the final round of edging on the Painted Roses blanket for my Mother - my January 'Make Me' challenge.  It has run over a little but the effort has been so worth it!


This has been a complete joy to work on and the end is very near.  Those teeny tiny flowers (found here) have been completed and their button centres added.


The blanket was then blocked and the flowers were added to each of the surrounding plain granny squares.  This added a nice bit of texture and also served to attach the fleece backing to the blanket.  I simply used embroidery thread to fix the flower to the front of the square and pulled it through to the back where I knotted it and cut off the thread to about an inch long.  A bit like some quilted fronts are fastened to their backs.  It was an easy solution and was perfectly functional without being too faffy!


Such joy.

I can't wait to share my Ta Dah post with you!!!  Happy half term folks.

J9 x

Edit - I originally omitted the link of the Painted Roses pattern by Sandra of Cherry Heart so am updating to include that - sorry!!

Tuesday, 27 January 2015

Make Me Progress ~ Mid January

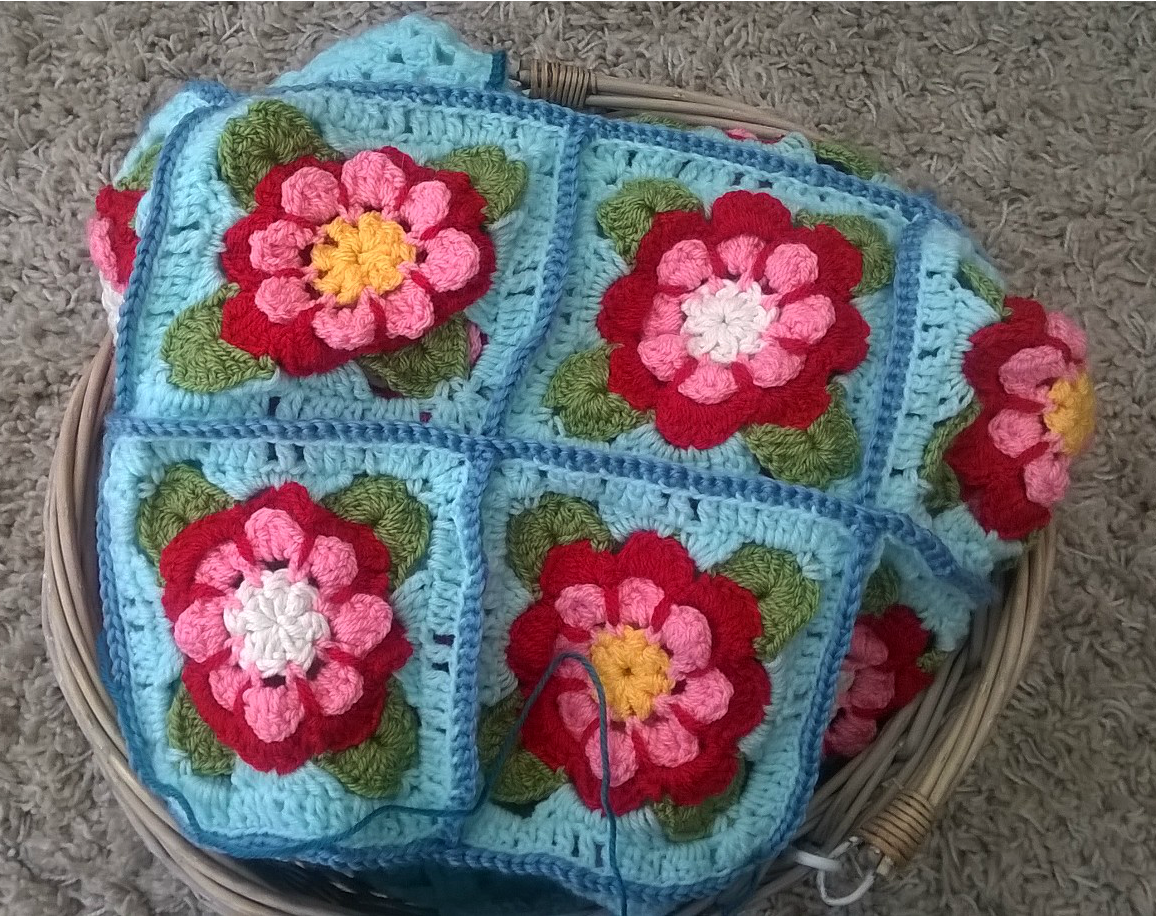
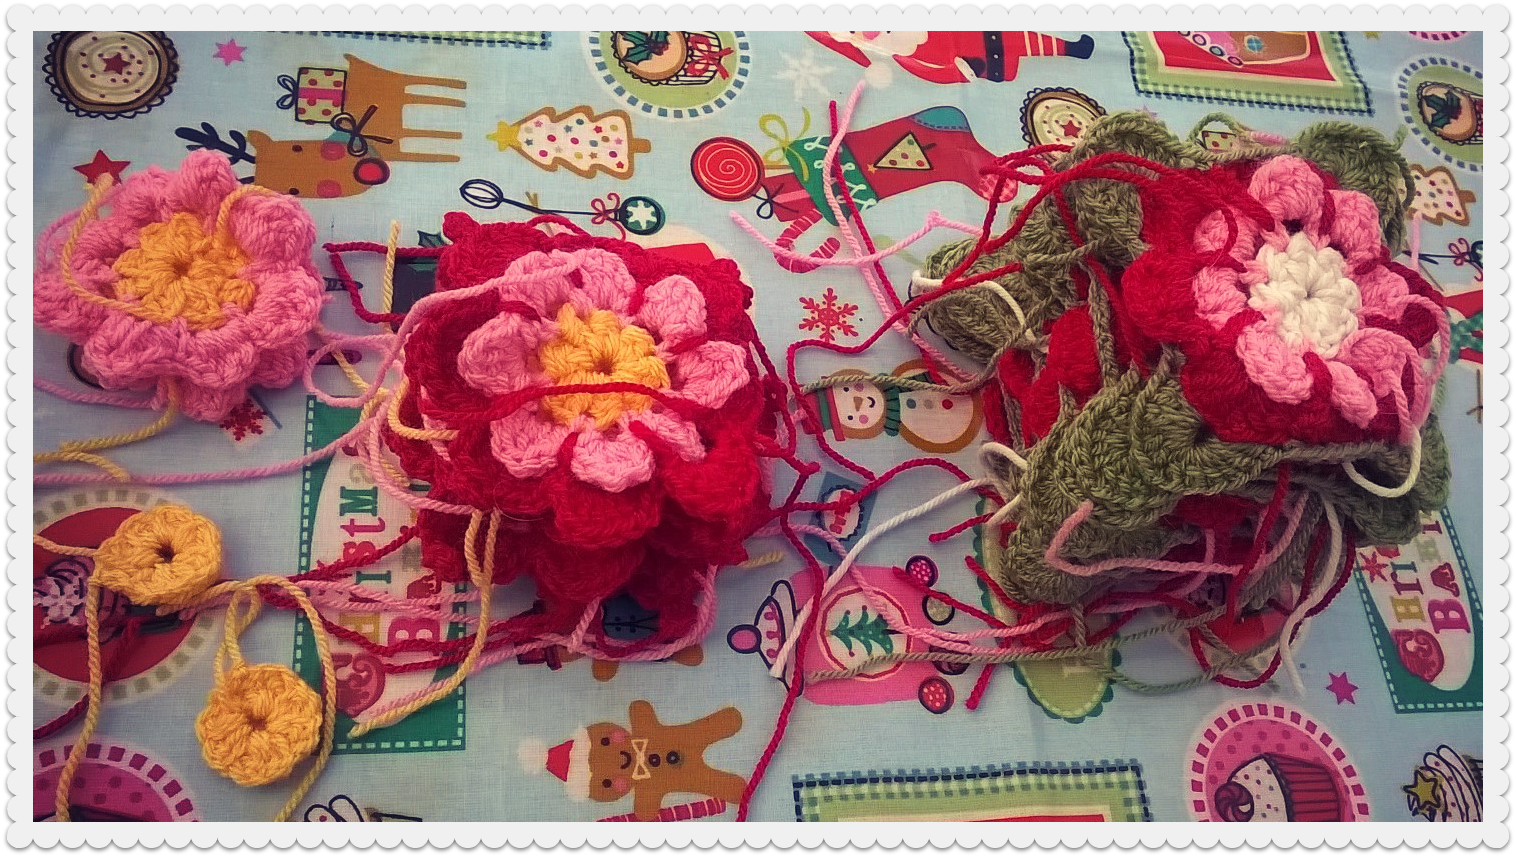
Stitch by stitch, each day I make a little progress on this blanket and continue to be delighted with the pattern.  I did however, make a rookie error whilst joining the squares (something that I'm not very practiced in).  I used Sandra's amazing instructions (provided with the pattern) but got carried away a bit and joined identical squares together (at the column joining stage) by mistake.  To avoid this mistake I simply had to turn the column.  A simple mistake but I had nearly completed the joining process by the time I realised that my rose centres weren't alternating.


I confess, I did consider leaving it and just carrying on but I knew that each time I saw the blanket in future it would be the thing that I noticed rather than feel pleasure from having completed it.  So, this meant pulling it apart and rejoining them correctly.... grrr.  I have joined most of the squares now and this is where I have gone off pattern.  The reasons for not using the pattern faithfully were partly for speed, partly because of my rheumatic hands getting sore and partly because I was crocheting the larger sized lap blanket and thought that some plainer squares would offset the more intricate designs of the roses well.  So, I completed the Painted Roses squares and flanked them on all sides with basic granny squares.


I have joined the squares with yarn that I had in my stash (purely to make this blanket a little more thrifty) and I am now at the stage where the edging needs to be crocheted.


I have made a few Teeny Tiny Flowers to sew to the centres of the granny squares to help link it all together and to add a bit more texture.  I've yet to add these but I think they will be quite effective.


You may also remember that I plan to use a lovely teddy fleece to back the finished crochet blanket. I plan to join it with blanket stitch around the edge and then incorporate this into a crocheted scalloped edge.


I have two more weeks to go until the planned 'Gifting' day so I hope to make quick work of the final stages.

I look forward to sharing my first Make Me ~ Ta Dah  of 2015 soon!!

J9 x

Thursday, 8 January 2015

A Happy New Year

I breathed a long, protracted sigh on Tuesday morning (after taking the children back to school for the first time this year) full to the brim with mixed emotions.  We could happily have filled another week together but another week of ignoring the chaos on the home front would not have been so good!!

The new year brings with it new opportunity, fresh thoughts of de-cluttering and home loving which I always relish.  The new year seems to energise my body and mind with a need to create and decorate. After the Christmas decorations came down those empty spaces and marked walls literally seemed to scream please 'pretty me'.

I've never been one for new year resolutions but I do fully embrace the renewal of potential within the weeks ahead.  I'm a real planner and have already written a monthly evening meal plan and a budgeting plan for January.  I've also written lists and am developing plans for the home front.  I am a list maker and love to indulge in ticking off those items - it gives me a sense of achievement and real pleasure.


S i m p l e   T h i n g s   


I've decided that I will share some of those plans here.  It will help me stay committed to my plans and perhaps provide a thread to connect otherwise random posts throughout the year.

My aim is at the beginning of each month to post a commitment, with the aim of achieving those objectives.  I've decided that one of these projects each month will be a home 'Pretty Me' - decor / home loving type of project.  Plus a minimum of one other creative project - a 'Make Me' commitment.  I won't be overly ambitious - as I want to achieve my objectives whilst pacing myself and my health.  But for the remainder of 2015, I will share progress (and hopefully big ticks) on the tasks I've committed to at the beginning of each month.

JANUARY 2015

Pretty Me
Priority #1 - definitely my stairs and landing - a need for paint, new blind and complete 'spruce' is required.  It will be budget constrained as most of my future projects but I'll do my best with minimal financial input.  I'll share a before (which is quite shameful) and after here and it will be my decorating project for January.

Make Me
Priority #1 - to complete the Painted Roses Blanket which I started during December.  I confess I failed to complete it before Christmas but my Mother comes to visit on 23rd January so I have now vowed to finish it for then.  I have all the squares made but I need to join and edge them.  It is looking pretty gorgeous I have to say and I can't wait to show you the finished item.  It has been a real joy to make and if it hadn't been for my rheumatic hands I would not have put it down.  The Ta Dah will come by the end of this month!!


So you saw it here and I must therefore make it happen!!  I hope you will follow along with my little Pretty Me ~ Make Me ventures.  I do so love to see what you lovely people get up to and hope that you will enjoy me sharing my newly non procrastinating self!!

Thank you all for reading and commenting over the past year.  It has been a great year for developing blogging friendships and I know 2015 won't disappoint either if you lovely lot share along with me. And welcome to new readers - it would be lovely if you would share in these ventures too!!

Wednesday, 17 December 2014

A Little Crochet...

As if there wasn't enough to do at this time of year, last week I started to crochet a lap blanket.  Not just any lap blanket... a blanket for my Mother as a Christmas gift.  I had been toying with this idea for a little while but procrastinated for some unknown reason.  My mum often uses a lap blanket for comfort and warmth so it felt like a suitable homemade something to give.  Then, suddenly the perfect pattern was created, developed and shared by the wonderful Sandra of Cherry Heart.

Her beautiful Painted Roses Blanket was absolutely what I had imagined and had not been able to find beforehand!  It was fate and thanks to the beauty of the internet I purchased the pattern and started my very own Painted Roses Blanket.


This is a soothing, rhythmic pattern which is actually a surprise to me as I thought I'd need to really concentrate to create something so pretty.  Thankfully, after the first couple flowers I had the pattern down (thanks particularly to Sandra's wonderfully helpful hints and photos provided with the pattern).


I've made 15 flowers with their leaf component so far and think that I'll add the final rounds to make the squares once I've crocheted all the flower rounds.  I plan to add some plain granny squares to the blanket to add balance (considering I'm doing a larger size) and I wanted to use yarn that I already had to minimize cost.  I also aim to back the crocheted blanket with fleece to add extra snuggle factor.


I'm really enjoying this project and seeing my little pile of crocheted 'Painted Roses' gradually grow. I aim to have it finished by Christmas day, which is a time pressure I'm not really used to - I usually like to take my time but that often means I have many projects in progress yet to be finished.  Hopefully as it's a gift I'll actually finish it in time!!


I'm finding that tackling a big crochet project at this time of year is especially enjoyable as it has meant that I've needed to slow down and carve out some creative time amid the hustle and bustle.  I will share a full ta dah in the new year (fingers crossed I finish it in time!!)  I'm sure many of you are aware of Sandra's amazing patterns - I can definitely recommend this one!

J9 x
Friday, 6 June 2014

Crochet Bumble Bee Mobile

It's been a long while since I've shared some crochet creativity - I gave you a glimpse here of my recent project.  You may remember that around this time last year I was all excited because we had three new babies joining the family in the shape of gorgeous nieces and nephews.  Well of course, their first birthdays have come around with terrific speed, prompting me to scour my relevant pinterest board for crochet inspiration... and this is what I came up with:


The most challenging thing about sharing this project in all honesty was photographing it!!  I really enjoyed the process of making this mobile and Little Lady has put in a request for an owl mobile of her own - so watch this space!

Do you remember I showed you a glimpse of the creatures before they had their big smiles added? The inspiration came because apparently my lovely niece is 'a Busy Bee' and her mummy is making a bumble bee birthday cake to celebrate her first birthday.  I had already chosen a little something as a gift but the nickname would not shift from my brain and it meant that I simply had to create something...


Laid down doesn't do the 'mobile effect' any justice but with a simple 'point and shoot' camera I had so many blurry photos this was the most successful method!!


I used this fantastic pattern together with some flower patterns from attic24.  I picked buttons from my stash and embroidered basic features onto the bumble bees.  I used an embroidery hoop I'd picked up in a charity shop months ago, covered any knots with washi tape and using basic chain stitches I sewed the flowers onto the hoop in order to assemble the mobile.


I'm really pleased with the outcome and as my first amigurumi crochet I was happy with how it all came together.  Have you been a Busy Bee lately?!

J9 x
Linking up with the Farm Blog Hop

Monday, 29 July 2013

And the Winners Are....

I apologise for the length of time it has taken me to blog about the names that got pulled out of our fateful hat...  the winners were chosen in that very simple way.  Names written on pieces of paper, folded into four and then one pulled out by each of my children.

As you may know, here I posted about my Giveaway (in homage to the anniversary of my first ever blog post) and my Carry it Forward (due to being fantastically fortunate to win goodies from Hen back in February).

And the Winners are:
 
 
Giveaway Goodies were won by Jann
AND 
Jennifer from Thistlebear
 
The Carry it Forward Goodies were won by Jennifer!
Well done to both of you!! 

A big thank you to the other two of you that entered.  If I'm completely honest, I was a little disappointed by the number of entries - but it was good for those of you who did enter to have fewer numbers to compete with!!  My little blog is only read by a select and highly valued few (yes... YOU!).  I think I'll finally be sharing it with my friends and family later this year - it's funny how I started blogging to strangers before making my wider family aware.  Although I would say I feel like some of you have become friends over this year - one of the best things about my blogging journey.

I really would like to thank you ALL for entering - and indeed for being my regular 'bloggy friends' here at Simple Things.

Happy Monday Friends,
J9 x

Thursday, 18 July 2013

Pretty Filter - To 'Girlify' A Bike!

Our bargain last month was little Lady's bike from the charity shop.  It felt like the universe was working in our favour and the purchase was completely meant to be.  It was the right size, right price and right time - so it came home with us.

Little lady was delighted. 

A little later she came to me and said "Mummy, can we girly it up a bit?"  Of course we can.  Bless her.  She was so accepting that the bike was a sensible purchase - but it was a dull grey and she had visions of a prettier specimen.

We added some spoke decorations and a basket from Halfords - bought with some money she had been saving for her new bike.  Some holographic stickers from the craft cupboard added extra colour to the paintwork.... and then for some crochet LoVe.


Just what could these be?

 
Any ideas?


How about if I photograph them like this?!


I found a few inspirational images here and here.  That evening I had a good look on the internet for 'research' and also pinned more homemade bicycle accessory ideas to my newest Pinterest Board!  Then a girly discussion ensued, colours were chosen and I set to work. 

A colourful seat cover was created:

...and some funky handlebar streamers finished the makeover - plaited long ends with beads added in complementing colours finished the covers...


Crochet cheeriness!

A happy, colourful bike - perfect to suit a happy, colourful little lady.


The reward I felt on this little project was priceless.  Life is good when you're 7 and your mummy prettified your bike!


Thanks for reading,
J9 x
Today I'm sharing in these fab parties!
The Inspiration Exchange
Share your Cup Thursday